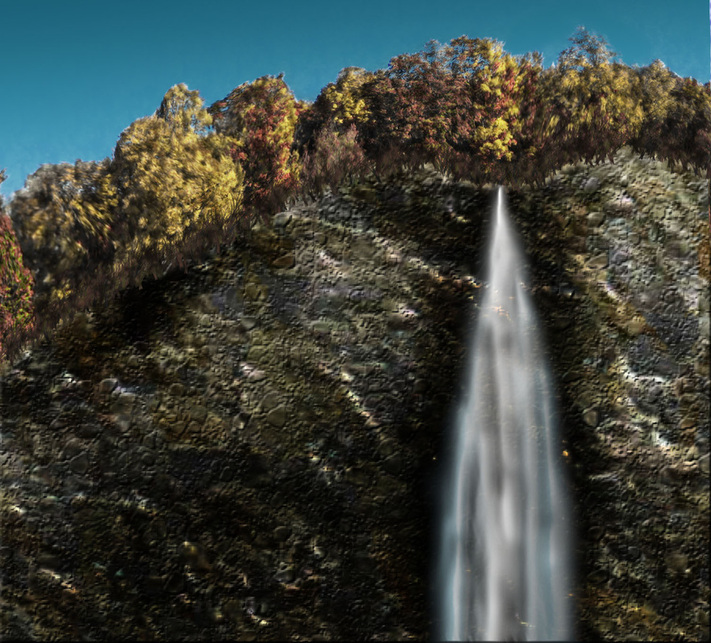
Portfolio #9: Waterfall
Go to the internet. Find a picture of some trees. They should be small and far away. Copy and paste it into a Photoshop document, 1504x1360. Select the trees using the Quick Selection tool. Do Select>Invert. Then erase all the selected area. Do Ctrl-D. Now select three parts of the image using the Rectangular Marquee tool, move the rightmost one up, and then skew the center two upwards using the Skew tool. Move the whole trees layer up so that they are near the top of the image. Do Filter>Liquify and warp everything around just a bit to look more natural. Create a background layer below (both in the image and in the layer window) the trees layer. Add a Pattern Overlay looking like rocks. Also add some kind of texture. Create a blank layer below it and merge it down with the blank layer, removing all effects. Use the Burn tool to create a large darkened vertical stripe to the right on the rock layer. Also use the burn tool to add some shadows on the rocks. On a new layer, add a bunch of white lines and dots on top of the darkened stripe. Apply a Radial Blur: Amount 7, blur method Zoom, quality Best, and blur center near the top right. On the same layer, draw a few more white lines and dots, then do Ctrl-F to apply the filter again. Add a Motion Blur with an angle of 70 degrees and a distance of 45, then do the same thing again with an angle of -70 degrees. Draw a few more vertical white lines, and do the same filters again, and draw a few more vertical white lines, and do the same filters again. Change your foreground and background color to shades of dark green and do some Grass brush at the bottom of the trees. On the waterfall layer, add a gradient overlay from light blue to white to blue and from left to right, and also add a bevel and emboss with default settings. Add a pattern overlay with blend mode Overlay to the trees. Use Hue/Saturation to change the trees to autumn colors. Finally, add a background layer with a sky gradient. Done!