Project 1 (1st Nine Weeks)
Earth and Moon
Create a new document, 12 inches wide by 9 inches tall, 200 ppi resolution.
Turn the background black. Then add a new layer. Call it "Noise".
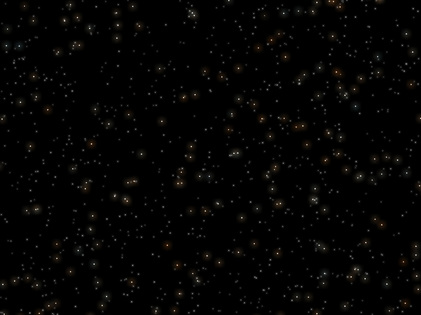
Turn this layer black as well. Next, go to Filter>Noise>Add Noise. Set the amount to 200 percent and the distribution to Gaussian. Do not check "Monochromatic."
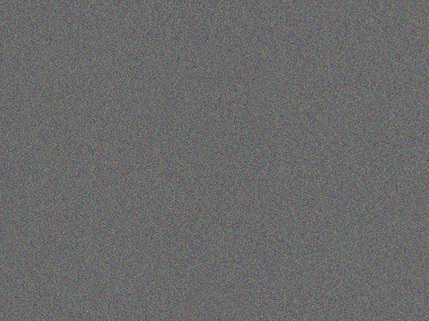
It should now look like the image above. (Quite boring-looking, too.)
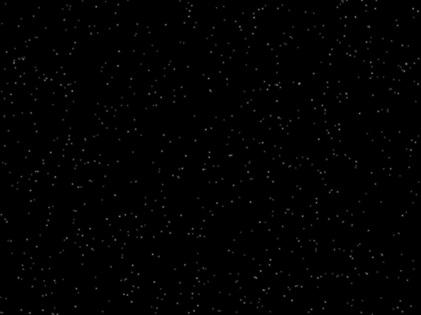
Next, zoom in and find a brown pixel. Click on it with the eyedropper tool. Then go to Select>Color Range. Set Fuzziness to 15. Click OK. Press ctrl-C, then ctrl-V, to copy and paste to a new layer (call it "Stars".) Delete the layer Noise.
On your new layer Stars, add a white stroke with a width of three pixels. Change position to center. Then add an outer glow to the layer Stars, with blend mode Screen, opacity 100, size 13, and spread 13 px. Change the color of the outer glow to white.
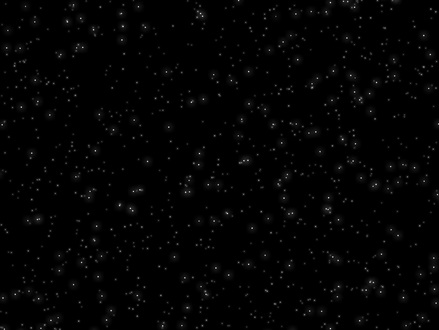
Duplicate the layer Stars. Call the new layer Bigger Stars.
Zoom out until the image is only a third as wide as the screen.
Then, with Bigger Stars selected, do Ctrl>T and make the layer three times bigger.
(Don't change the image size.) On Bigger Stars, change the size of the outer glow to 38 px and the spread to 8%.
Add a new layer. Call it Star Colors. Change your foreground color to light blue and your background color to orange. On Star Colors, do Filter>Render>Clouds. Then go to Layer Style and change the blend mode of Star Colors to Overlay.
Add another new layer. Fill it with black. Put it in between Stars and Bigger Stars. Now Merge Down the Bigger Stars layer. Then Merge Down the Star Colors layer. Rename it Bigger Stars. Then move Stars in front of it. Merge Down the Stars layer.
Now your stars should look more colorful!
Add a new layer. Call it Nebula.Then get out the brush tool and set your foreground color to light blue. Make the brush 0% hardness. Change the flow to 15%, and change the size as neccessary. Make a neat-looking pattern on Nebula. Once you're done with that, change the opacity of Nebula to 50%.
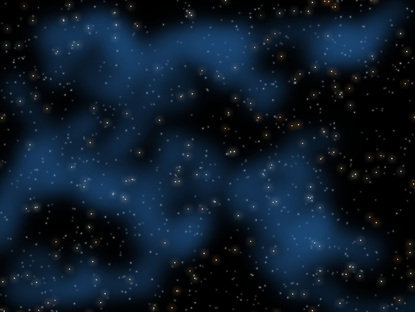
Now add a dark blue Inner Glow and an Inner Shadow with a distance of 300 pixels and a size of 100 pixels to Nebula.
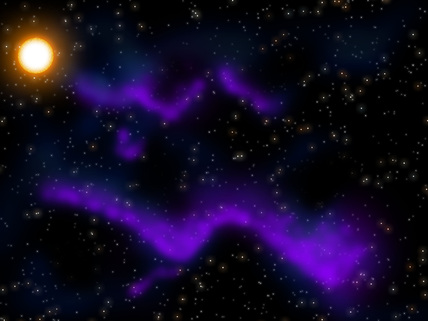
Make a new layer. Call it "Nebula 2." Make another cool pattern with the brush, with the same settings as Nebula, just a different color brush. Try to make it so that it would look good on top of the Nebula layer. Make another layer called "Nebula 3" and do the same thing, but using black, to make dark clouds. Now, click off the eye for the layers Stars and Background, and right click on the layer Nebula 1. Then hit "Merge Visible" and turn the eye back on for Stars and Background.

That looks pretty cool, doesn't it?
Next we are going to add some objects in the foreground.
Create a new layer. Call it "Sun". Set the Brush Tool to opacity 100, flow 100, size 200, and hardness 100%. Set the color to white. Then click with it once in the spot where you would like the sun to be. The upper left corner looks pretty nice aesthetically to me. Now add some layer styles by double-clicking on the layer in the layer window. A new window will pop up. For Outer Glow, set the blend mode to Screen, the opacity to 100%, the noise to 2%, the color to orange, the technique to softer, the spread to 4%, and the size to 250 px. Don't mess with the Quality window. For Drop Shadow, set the blend mode to Screen, the color to orange, the opacity to 75%, the angle to 120 degrees, uncheck the Global Light, set the distance to 0, the spread to 28%, and the size to 45 px. Don't mess with the Quality window. For Inner Glow, don't do anything except set the color to white, set the size to 45, change the opacity to 100%, and change the source to Center. For Color Overlay, change the color to orangey-yellow and the opacity to 80%. For Pattern Overlay, select a pattern that looks like cracked mud. Don't change anything else. Hit OK.
Let's finish this up. We need to add a planet. Go to the internet and google an image of a crescent Earth from space. Copy-and-paste it into Photoshop. Position it as shown in the next image. The image should look similar to the crescent shown below.

Use the Quick Selection Tool on the left-hand toolbar to select the black area outside of the crescent. Erase it.
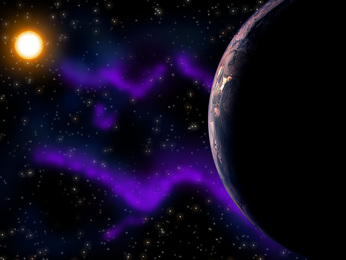
Add an Outer Glow using the method previously mentioned. Change the color to aquamarine. Change the opacity to 45%. Change the size to 70 px. Press OK. Now use Ctrl-J to duplicate the layer with the crescent Earth. Use Ctrl-T to shrink it down and put it to the left of the main crescent. Press Enter after you're done. Remove the outer glow.
Here's the final product!
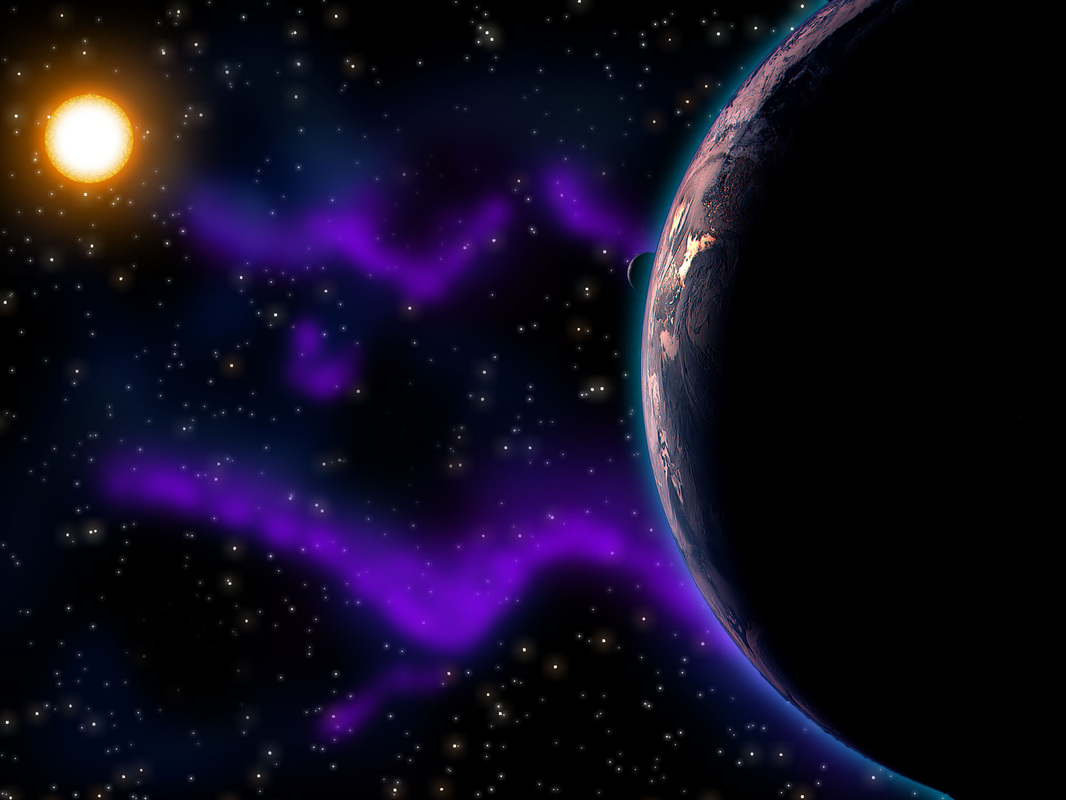
If your image looks something like this, you're done! This is the Earth and the Moon, if you have not yet realized it.
Project 2 (1st Nine Weeks)
Northern Lights
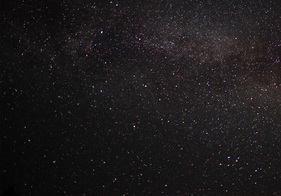
Create a new image. Width=1400 px, height=980 px, resolution = 100 ppi. Call it NorthernLights. Go onto the Internet and find an image of the night sky. Copy and paste it into Photoshop. Rename the layer it is on "Sky."
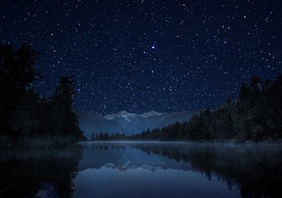
With the Sky layer selected, go to Image>Adjustments>Color Balance. Drag the bottom slider halfway to the right and the top one halfway to the left. Now find a picture of mountains over a lake in the nighttime. Make sure it does not include the moon. Copy and paste it into photoshop. Call the layer it is on "Foreground." Go to the left toolbar and find the Quick Selection Tool. It looks like a paintbrush with a dotted line. Use it to select the sky part of the Foreground layer. Now use the eraser tool to erase the selected area.
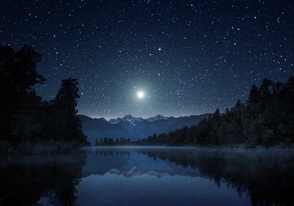
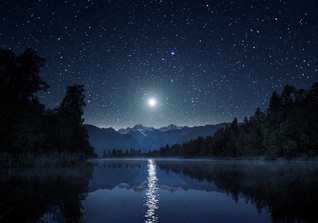
Create a new layer in between Foreground and Sky. Use the Brush Tool, which looks like a little paintbrush on the left toolbar, to create the Moon and some horizon glow on the layer. Use the brackets to change the size as necessary, and use the hardness slider to change the hardness of the brush's edge. Make sure the horizon glow is brighter than the mountains. It should look like this.
The Moon needs a reflection in the water. Because the water has ripples, you cannot just copy and paste it into the water. You will need to find an image online. Copy and paste it into Photoshop. Move it in front of the Foreground layer. Go to Select>Color Range> Midtones. Don't press any other buttons on the Color Range window. Hit OK and press Ctrl-J. The moon's reflection itself should be on a new layer. Delete the layer with the original picture. Rename the layer with the Moon's reflection "Reflection." Press Ctrl-T and position it in just the right spot on the water to be a good reflection of the moon. Double-click the layer in the Layer window and add a Color Overlay. Set the color of the Color Overlay to white.
This will be your background. Now you have to add the Northern Lights.
Create a new layer. Call it "Aurora." Select the Brush tool and change your foreground color to light green. Put it between Moon and Foreground. Double-click the layer and change the Blend Mode to Screen. Press OK. Draw some wavy green horizontal lines on the layer.
Here are some steps you will have to repeat many times:
1. Press Ctrl-J.
2. Click on the eye next to the layer below the one that is highlighted in the layer window.
3. That layer should be invisible now. Make sure the layer you have highlighted is visible. If not, click on the layer that is visible with the green horizontal wavy lines.
4. If so, select the Smudge tool. It looks like a hand with a finger smudging something.
5. Change the hardness to 0% and the size to 141.
6. Click and drag over each of the green horizontal wavy lines, choosing randomly whether to go right or left.
Repeat these steps exactly 10 times.
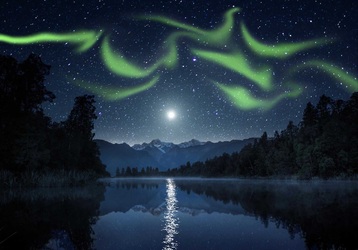
This is about what you should see after repeating these steps 10 times.
Make the layer you are currently on invisible. It should be called "Aurora copy (some number). Then make the layer Aurora visible. Select it in the Layer window. Go to Filter>Blur>Gaussian Blur. Set the radius to 7 pixels. Press OK. Then go to Filter>Blur>Motion Blur. Set the angle to 85 degrees and the distance to 244 pixels.
There are more steps to repeat now.
1. Make the layer you are currently on invisible.
2. Make the layer one above the one you are on visible.
3. Select the layer you just made visible in the Layer Window.
4. Press Ctrl-F.
Repeat these steps until you are on the very top layer before Foreground.
Then delete the layers "Aurora" and "Aurora Copy."
Select "Aurora Copy 2". Do Filter>Blur>Gaussian Blur. Set the Radius to 15 pixels.
Then do the repeated steps again:
1. Make the layer you are currently on invisible.
2. Make the layer one above the one you are on visible.
3. Select the layer you just made visible in the Layer Window.
4. Press Ctrl-F.
Repeat these steps until you are on the very top layer before Foreground.
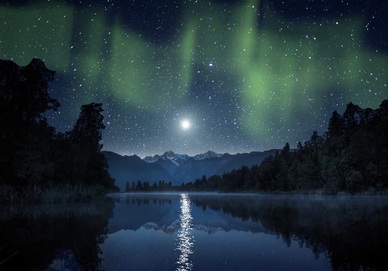
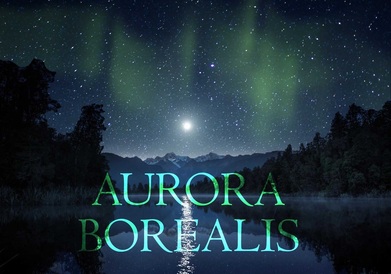
Now create a new text layer that says "Aurora Borealis" in all caps. Set the font to Centaur. Move it above all the other layers on the layer window. Make sure the text is in light green. Press Ctrl-T and move it so that it is on the reflection of the moon. Go to Layer>Layer Style and set the Blend Mode of the layer to Color Dodge. Right click on the layer in the layer window and press Rasterize Type.
With the Aurora Borealis layer selected, press Ctrl-J 8 times. You should now have 9 copies of the layer. Select the Eraser Tool on the left-hand toolbar. Change the diameter to 283 and the hardness to 20%. On the first Aurora Borealis layer, erase all but the first A and the U. On the second one, erase all but the U, the first R, and the first O. On the third one, erase all but the first R, the first O, the second R, and part of the second A. On the fourth one, erase all but the first O, the second R, the second A, and part of the B. On the fifth one, erase all but the second R, the second A, the B, and the second O. On the sixth one, erase all but the second A, the B, the second O, and the third R. On the seventh one, erase all but the B, the second 0, the third R, the E, and part of the third A. On the eighth one, erase all but the "REALIS." On the ninth one, erase all but the first A, the I, and the S.
Now it is time to finish this up. It needs to be turned into an animation. Go to Window>Animation. A window will pop up in the bottom left corner. It should have two tabs, one of which says "Animation (Frames)." Make sure you are on that tab. Click the little button that looks like a Post-it note eight times. The window should now have nine little pictures (frames.) Each one has a certain selection of layers visible. The layers "Sky," "Moon," "Foreground," and "Reflection" should be visible on all of the frames. Find the little number in the top right corner of each one.
For the frame marked 1, make AURORA BOREALIS and Aurora copy 2 visible.
For the frame marked 2, make AURORA BOREALIS copy and Aurora Copy 3 visible.
For the frame marked 3, make AURORA BOREALIS copy 2 and Aurora Copy 4 visible.
And so on and so forth.
When you are done with this, go through all the frames one by one (starting with number 9 and ending with number 1) and do two things to each.
1) Click on the little drop down arrow next to the thing that says 0 sec. Change it to 0.1 seconds.
2) Click on the button that looks like 4 circles in a row and press OK.
MAKE SURE you do this on frame 9, then frame 8, then frame 7, then frame 6, then frame 5, etc. This is because some new frames will be added each time you do this.
After this, make a new frame at the VERY END (should be #55, but if not, you are still OK), and select the same layers visible as in the very first frame.
Then press the 4-circles-in-a-row button. Press OK. Now delete the VERY LAST frame by selecting it and clicking on the trash can button. Then go through and delete every other frame to shrink the file size.
Press the Play button to admire your creation.
Save it by going to File>Save for Web and Devices>Save. You might need to wait a while if your computer is slow.