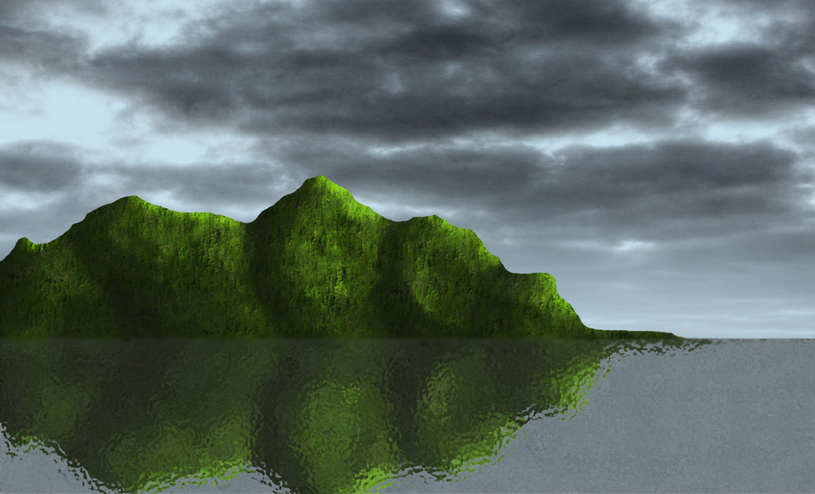
Portfolio #3: Water Reflections
New image, 1600x900, 72 ppi.
I found a cloud texture online, turned it into my background, and selected the white parts using the Color Range. Then I filled them with light blue to make it look like sky.
Then I created some mountains in the foreground using the brush tool. I colored them dark grey.
I found a pine forest texture online and used the clone stamp tool to make it bigger. I did this until it was big enough to cover up all the mountains. I put the layer with the forest on top of the mountains and created a clipping mask. I also set the blend mode to Overlay.
I added a Bevel and Emboss layer style to the mountains and I used a Clouds texture. The bevel and emboss had an angle of 30 degrees. The shadows had an opacity of 0 and the highlights had an opacity of 100 with a blend mode of Overlay.
Next, I made the clouds layer invisible and applied Merge Visible. I used the Burn Tool to make shadows on the mountains, and the Dodge Tool to make highlights on the mountains.
Next, I duplicated the layer with the mountains and turned it upside down. I made a layer below it filled with blueish-grey and merged the two together. Then I did the Add Noise filter at about 50 with the Monochromatic turned on. Then i did a Gaussian Blur with radius 10 pixels. Then I did Ocean Ripple with the ripple size at 7 and the ripple magnitude at 13.
Then I moved the reflection layer below the mountains layer and the clouds layer.
Next, add a blur using the Rectangular Marquee tool along the shoreline. That's it.